This guide helps you quickly integrate Onyx into your page.
Step 1
Upload the contents of "Onyx - jQuery Instagram Gallery" folder to your server, and insert the following code at the end of the head tag in your page.
				<link rel="stylesheet" href="css/onyx.min.css">
				<script src="js/modernizr.custom.js"></script>
Step 2
Include the following element into the body tag of your page.
				<ul id="og-grid" class="og-grid da-thumbs">
				</ul>
Step 3
Insert the following scripts right before the closing body tag.
				<script src="//ajax.googleapis.com/ajax/libs/jquery/1.11.0/jquery.min.js"></script>
				<script>window.jQuery || document.write('<script src="js/jquery-1.11.0.min.js"><\/script>')</script>
				<script src="js/onyx.min.js"></script>
Step 4
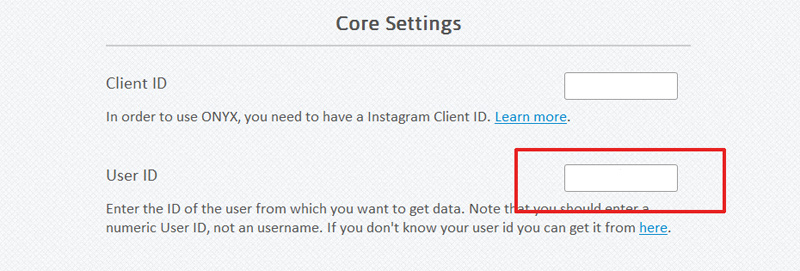
To get a user's data from Instagram, you need to know his/her User ID. You can get the User ID by entering their usename in this app.

Once you get the User ID, copy and paste it in User ID field on settings page.
Step 5
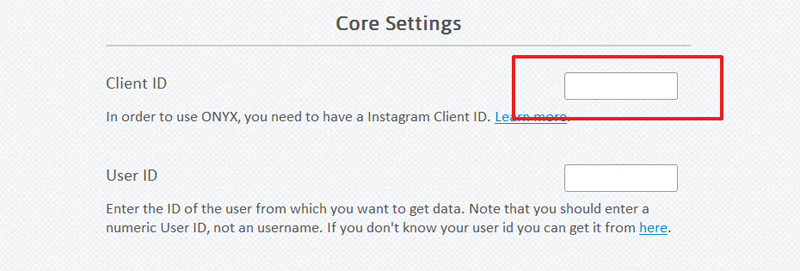
Instagram requires you to have a client ID in order to get data from their database. To get your Client ID, go to Instagram developer page and Login to your account.
If you do not already have an Instagram account, download the Instagram app in the App Store on an iOS device (iPhone, iPod, iPad) or in Google Play for an Android device. After installing the app, open it on your device and tap the Sign up button to begin the account creation process.
After logging in on Instagram developer page, click on Manage Clients (or Register Your Application button). Fill out the required fields and sign up.

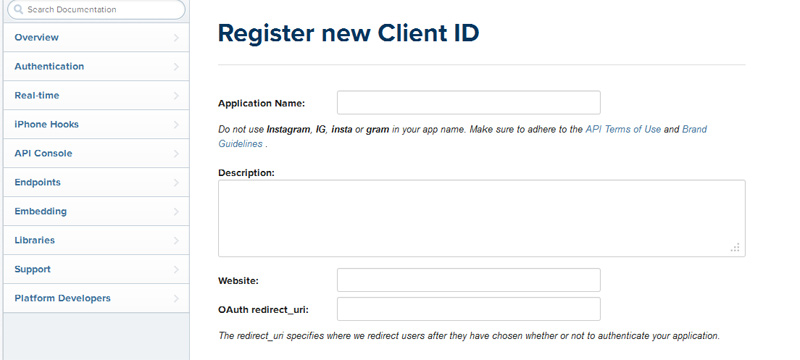
Click on Manage Clients again and then click on Register a new client. You can use your site name as the application name and insert the url of your site in the last two fields.
Once you get the Client ID, copy and paste it in Client ID field on settings page.
Follow the instructions on the settings page to apply changes.